Friday, July 22, 2011

What's crispy, spicy, and completely wonderful?

Samosas. That's what. Easiest riddle ever.


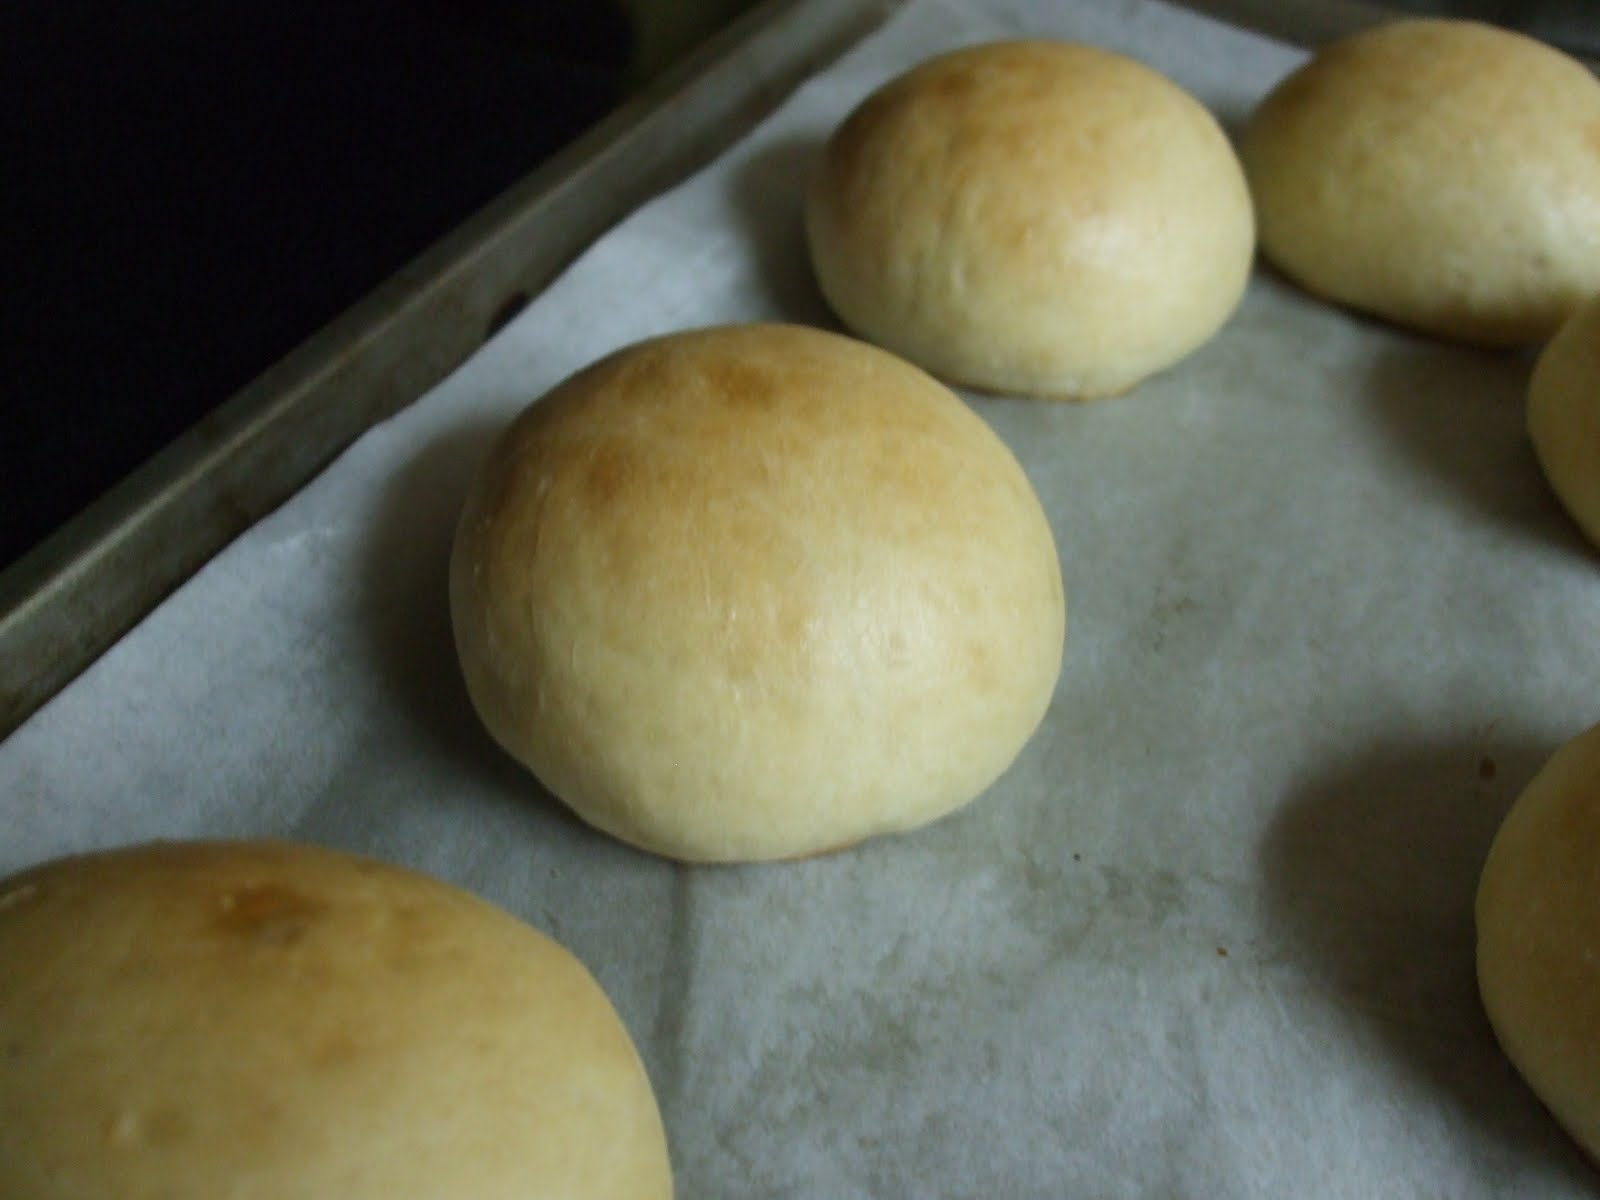
Look at that crispy, golden brown goodness. Slightly flaky pastry outside, and fluffy spiced potato filling inside. It's delicious.

I made this samosa to try out my homemade garam masala. I thought that the samosas were going to be just some kind of vehicle for the spices. You know, just a vessel. But, no. Oh, no. It was so much more than that. It's a superstar in its own right.
I wasn't in the mood for meat (weird, right?), so I made some vegetarian samosas instead. The filling was supposed to have potatoes, carrots and peas in it, but I didn't have the latter two ingredients. So, I settled for just potatoes. Don't worry. It's still awesome.

The recipe said that it would make about 24 medium sized samosas. I wouldn't know about that since I made bite-sized ones. So, try it out and see how it works out for you. The dough was wonderful. Most people say that samosas are difficult to make, but I didn't find it that troublesome. The dough was wonderful, and definitely one of the friendliest dough I've ever worked with.
The original recipe for the filling (click here) is wonderful, but I didn't have a couple of the ingredients on there. So, I just adjusted it according to the things in my cupboard.

Vegetarian Samosas

Dough

  • 225 gr of flour
  • 2 tbs of oil
  • 2 tsp of salt
  • 80 ml of water

Filling

  • 2 large potatoes
  • 2 green onions
  • about 1/2 inch of ginger, smashed
  • 2 green chilies, finely chopped
  • 3 tbs of oil
  • 1/2 tsp of garlic, minced
  • 1/4 to 1/2 tsp of ground coriander
  • 1/2 tsp of turmeric (if you have dried sliced turmeric, use 2 to 3 pieces)
  • 1/2 tsp of garam masala
  • 1/2 tsp of chili powder
  • 1/2 to 1 tsp of salt
  1. For the dough, combine flour and salt in a large bowl. Make a hole in the center of the mixture and pour in the oil and the water. You'll need all of it. Then, use a fork to combine. After a couple of minutes, go in there with your hands. Dump on to a clean surface, and knead into a smooth ball. Cover and let sit at room temperature for 30 minutes.
  2. Boil the potatoes for about 15 minutes, or until they just become fork tender. Don't make it mushy! After that, use a fork to break up the potatoes into small, crumbly pieces. Don't mash it completely.
  3. Saute the garlic, green chili, ginger, and coriander in oil for a minute.
  4. Add the green onions and let it cook for a minute or two. Add turmeric, chili powder, salt, and garam masala. Let it cook for about 2 minutes, and add the cooked potatoes. Only cook until everything is nicely combined.
  5. After the dough has rested for 30 minutes, divide it into two parts. Then, the divided the two parts into six portions.
  6. Roll out each portion into a circle as best as you can. Mine were jacked up, too. Don't worry. Cut the circles in half, making two half moon shapes. Take one of them and brush the straight edge with water. Don't overdo the water; it'll make your dough mushy and more prone to tearing when you stuff it. 
  7. After brushing it with water, fold it over and crimp it together to make a cone. Open it up, and insert about 1 tbs of filling. Brush the inner edges of the top of the cone with water and crimp it up nice and tightly.
  8. Fry the samosas on low to medium heat until they are golden.

The frying part is a little tricky. You kind of have to watch the temperature with these guys. If the oil is too hot, the shell will start to form bubbles that look like tiny blisters. You don't really want that. If the oil isn't hot enough, the thing won't really puff up. So, uh, good luck with that.

Thursday, July 21, 2011

Making your own garam masala...

I have a hankering for spicy foods right now. Like, I want some--badly.

Most Indonesian dishes use a lot of spices. We love us some spices. I remember when I was in elementary school, I was in pramuka, or Cub Scout. One day, we were told to prepare for an outing, and one of the things the instructor told us to do was to go home, and sniff some spices. We were weirded out also. So, I went home, and rummaged through in our family's spice baskets (Yes, that's how much we use them).
Sure enough, on the outing, they asked us to identify around 15 different spices by sniffing them. I owned.
I got everything right--galangal root, tumeric, fingerroot, cutcherry, and so on--except for two. I confused shallots for onions. Big deal. I was feeling pretty good about myself. But, then again, I think I had an advantage because I probably helped out my mom more than the other girls helped out theirs. Not my fault.

Anyway, I made some homemade garam masala today. For those of you who don't know what it is, garam masala is a spice blend that's very important in Indian cuisine, especially Northern Indian cuisine. The blend usually has cumin, coriander, cardamom, cloves, and etc. It's very pungent stuff.


Garam Masala (makes about 1/4 cup)

1 tbs of cumin seeds
1 tbs of coriander seeds
1 tbs of cardamom
1 tbs of black peppercorns
1.5 inches stick of cinnamon
1/2 tsp of whole cloves
1/2 tsp of grated nutmeg

  1. In a small skillet, toast cumin, coriander, cardamom, peppercorns, cinnamon, and cloves over medium-high heat for about 5 to 7 minutes. Don't try to be smart and turn up the heat! You'll burn the spices instead of cooking them through!
  2. Pulverize the toasted spices along with the grated nutmeg. You can use a coffee grinder or a small food processor. But, if you have a mortar and pestle, please utilize it. I did most of the work using a small grinder, but there are just some things your grinder won't get. I had to use a mortar and pestle to get a finer powder. 
  3. Store in a Tupperware in a cool, dry place. It'll keep for about 3 months.
Seriously, use a mortar and pestle if you have one
Finished product
It's now ready to be used in all sorts of different dishes--chana masala, tikka masala, samosas, tandoori chicken, dahl, and etc.

The best omelette on the face of the planet...

Though I have not posted, I have been cooking. I made this about a week ago.
The Spanish tortilla is a giant omelette traditionally made with potatoes. It's very simple and very delicious, and it's usually found in various tapas bar in Spain. This was my attempt at it.
cooked potatoes

I saw the recipe for it in NY Times, and well, it turns out that you don't really need a freaking recipe for it. It's that simple. Just potatoes, eggs, onions, salt and pepper.

Spanish Tortilla

3 or 4 medium sized potatoes
2 medium sized shallots, thinly sliced
5 to 6 eggs
salt and pepper
oil to fry


  1. Peel and thinly slice the potatoes. It is faster to use a mandolin, but since you don't really want paper thin slices, a knife will suffice. You want 1/8 inch slices. Submerge in water to prevent discoloration.
  2. Heat oil in a 8 to 10 inch nonstick skillet. To test the temperature, put a slice of potato in the oil. If small bubbles appear around its edges, the oil is ready. Fry the potatoes just until they are tender, not brown!
  3. Take the potatoes out and drain on a paper towel. Reserve around 2 tbs of the oil for frying the omelette later. Let the potatoes cool for a couple of minutes before mixing it with the eggs, salt, and pepper. Remember that during this stage, you are seasoning the whole thing!
  4. Heat the skillet back up over medium heat. Sautee the shallots in reserved oil until it becomes soft.
  5. Add the egg and potato mixture. As soon as the edges firm up, lower the temperature slightly, and cook for 5 to 6 minutes.
  6. Insert a spatula around the edges of your omelette to loosen it from the pan. Slide it off on to a large plate, one that would cover the top of your pan. Carefully put the top of your skillet on top of the omelette, and flip it over. There's enough residual oil on the skillet to cook the other side. Don't worry!
  7. Cook the other side for 5 to 6 minutes, and slide it off on to a plate. Serve at room temperature. 
It's almost always served with bread, specifically bocadillo. I didn't have any baguette or bocadillo laying around the house, but I did have my potato bread. It's extreme potato bonanza.

Delicious.

Friday, July 8, 2011

Bubur Ayam Jakarta (Jakartan Chicken Porridge)

I love this. This might really be one of my absolute favorite foods.
If you're truly from Jakarta, you don't call it 'bubur ayam', or chicken porridge. True locals call this 'bubur abang'. 'Bubur' means porridge and the word 'abang' means older brother. It's a little weird, but let me explain.

Street food is big where I'm from. If you're hungry, it doesn't matter what time of day it is; you can walk out on to street and find food vendors everywhere. It's really cheap, too.
Credit to khurram at travelermania
Credit to Rebecca Distler at The Globalist
Credit to khurram at travelermania
My point is, there's a lot of food. One of the most popular street foods in Jakarta, especially for breakfast, is the chicken porridge. Like I said before, it's called 'bubur abang', or older brother's porridge. It's called that because many of the vendors are men, and they're most likely 25 years old, or older. So, we call the porridge 'older brother's porridge' in order to refer to the Jakartan porridge that's sold on the street.

I remember when I was little, I had to wait until my dad went off to work before I could eat this. He didn't want me eating stuff from the vendors because, well, they're not the most sanitary things. My mom has nothing against it, so my dad got mad at her a lot for enabling me. I got really annoyed with my dad sometimes. I couldn't wait to grow up. That way I can eat whatever the hell I want.

So, I made some porridge today. I forgot how dangerous it can get. It was bubbling and it kind of splattered all over the place. I got a burn on my hand. Not fun.
I did anticipate some stirring to be involved though. For those of you who have never made porridge or congee before, it takes about 1 and a half to 2 hours to get it to the right consistency. And, that's if you use cooked rice. If you use uncooked rice, you can expect to stand in front of the stove for about 2 and a half to 3 hours (depending on how much you're making), continuously stirring the damn thing until it's smooth.

20 minutes in...
After about 2 hours of continuous stirring...
If you want to make this, make sure you have at least 3 hours of free time. Just saying.
The porridge is made from rice, obviously, chicken broth, water, and most importantly, Indonesian bay leaves. Just two or three for 1 and a half cups of rice. It can't get any simpler. It just needs time and care.
The traditional 'meat' in this dish is chicken--Indonesian fried chicken.

Well-seasoned, crispy fried chicken. Good, huh? Don't get too attached to it. I'm going to have to shred it and ruin it for you.

Oh, I have something very important to say. Do not throw away the skin. I will find out and hunt you down. Whenever I see people use cooked chicken, whether it's fried or roasted, they throw away the skin. *cough cough* Food network people *cough cough* It pisses me off.
Anyway, back to the topic at hand.
There are ready to use seasoning mixes for this fried chicken. Since I'm not my mother, I used the mix--with some added ingredients, of course. I added a couple slices of galangal root and some Indonesia bay leaves.
This is the seasoning mix I use.
We shall assemble.
A couple ladlefuls of porridge and some chicken...
Add Chinese crullers and green onions...
Add tapioca crackers, Indonesian sweet soy sauce, and some chili  sauce
Now, take a spoon and give 'em hell.

Thursday, July 7, 2011

The good potato bread and the bad potato bread

Yes, there is such a thing as bad potato bread.

I found the recipe for the bad potato bread above here. It's just... uh. It turned out all crumbly, dry, and just... uh. I still have a whole loaf left. I don't know what the hell to do with it.

Now, let us move on to the good (awesome) potato bread. I found the recipe for this potato bread in an old issue of Sedap Sekejap: Khusus Pemula from 2004. My mother and I loved this magazine. Most of the recipes are well-tested and kind of foolproof. Now, the bad thing for you American cooks who don't own scales is that measurements are all in metric. God, just invest in one. I promise you that it'll be worth it.


GOOD Potato Bread

400 g of high protein flour
100 g of potatoes, boiled and mashed
50 g of sugar
about 7 g (or 1/4 oz) of dry yeast
2 egg yolks
150 ml of lukewarm water
100 g of butter
1/4 tsp of salt
about 100 ml of milk (for brushing at the end)
  1. Grab either a stand mixer or hand mixer, and attach the dough hook. Don't make this any harder than it has to be.
  2. Put the flour (all of it), yeast, sugar and egg yolks in a bowl, and mix.
  3. While the machine is on, slowly pour in the water.
  4. Add butter and salt. Mix until the dough is elastic and separates for the mixing bowl. It should all stick to the dough hook by now.
  5. Let the dough rest for 30 minutes. If it's warm enough in your kitchen, you can let the dough rest on the counter with a kitchen cloth covering it. If not, you can do what I did and let it proof in the oven. You can find the instructions here.
  6. Punch the dough, and dump on to a floured surface. Portion the dough into balls weighing about 50 grams each. You can make it bigger if you want, though.
  7. Let it rest on a lined baking sheet for 30 minutes. Brush the dough with milk, and bake for 12 to 15 minutes at 340 degrees Fahrenheit.

Fabulous.
I don't use that word a lot, but these are totally fabulous. Man, I sound like teenager. Wait, I am a teenager.
Anyway, you should definitely try these. They have this wonderful crusty, but not tough, outsides. But, in the inside, they are so soft and fluffy. It's good bread--tremendously good bread. I've had two already.


Monday, July 4, 2011

In search of future projects and lumpia (Indonesian spring rolls)

It was not a very happening day yesterday. I got home from work and had a serious hankering for grilled cheese. So, I made myself some. With lots of butter. Yum.

When evening came, I made myself some dinner (left over fried chicken and gratin) and began to rummage through my mother's stash of cookbooks. It was interesting. I found Chinese cookbooks. That are in Chinese. Huh. I set those aside. 
Then, I found a book solely about cupcakes. I thanked God. I'm not much of a cupcake baker. I mean, I try. And, recently, I failed miserably; I tried to make Bakerella's sweet potato and bourbon cupcakes. Did not work out at all. But, in my defense, I didn't start out baking cupcakes and cookies with my mom like other normal kids. I made food.

Later that night, I flipped through Burnt Lumpia's posts. Have you heard of him? 'Cause you absolutely should. His posts are wonderful. I love how he incorporates his Filipino upbringing in his food and in his blog.
Anyway, I got home this afternoon from a failed attempt to see Transformers 3 (it was sold out. I'm failing a lot these days). And, I made some lumpia.

Lumpia is the Indonesian word--and apparently, also the Filipino word--for spring rolls. Not the Vietnamese kind (you know, the one wrapped in rice paper and isn't cooked?), but the Chinese kind. A bajillion (yes, that is an exact number) years ago, Chinese immigrants settled in Indonesia and the Philippines, bringing this wonderful food. The Hokkien (a group of Chinese dialects) word for spring roll is lunpia. Under Dutch rule (cause it might as well have been), the word evolved to lumpia.

If you look carefully in the first picture, I did kind of burn one of them, the one with the busted end, in honor of Burnt Lumpia. Don't worry. It's still great; I ate it just now. Unfortunately, I can't disclose the recipe for these lumpia. Sorry. It's kind of a family thing. My mother would flip her shit.

I can, however, tell you a couple of general ingredients. As you probably know, the wrapper is store-bought. Do not, I repeat, do not get the white spring roll skin. Those are for Vietnamese spring rolls. Get the ones that say "spring roll pastry". The filling contains shrimp, bamboo shoots, and Indonesian sweet soy sauce (we use this A LOT). It's called kecap manis. Kecap sounds a lot like ketchup. So, when my family first got here, there was a lot of confusion. Anyway, this type of filling originated from Semarang, the capital city of Central Java. It's traditionally eaten with a thick brown gravy, but I was lazy.

So, I had some sweet and spicy chili sauce with it. Still awesome. Yum.
I now have a pretty uneventful evening ahead of me. I have stuff I need to prep for work. I guess I'll reluctantly do that. meh.

Friday, July 1, 2011

Snack time!

Chips--or any fried food, really--are my guilty pleasure. 'Nuff said.


I woke up feeling really tired today. I wanted to stay in bed so badly, but sucks for me, I had to work. I got up at around 6:40, took a shower, and  hurried along. Our orders (you know, like, rice, fish, etc.--all of our supplies) came in today, and me and my brother had to do some heavy lifting. phew.
I thought I deserved a treat. I got home and fried up them taters.

So, as I said before, I had a bunch of potato and sweet potato slices left from the gratin. I'm munching on some right now as I am typing this post. They're delicious, by the way. 
They're just... chips. I honestly don't know what the hell else to say about them. Well, except that you absolutely should try to make your own. Have you ever made homemade potato chips? You haven't? Shame on you! It only takes about 10 to 15 minutes to fry up one batch.


I seasoned the sweet potato chips with salt, and the regular potato chips with salt and pepper. I hate it when chips are overly salty, or overly seasoned with all sorts of powder. It's just not how things are supposed to be!


Good stuff.